I hope everyone had an amazing Thanksgiving this weekend, however you spent it( with or without family and friends). For those that worked Black Friday and Small Business Saturday, I hope you’re getting some well deserved rest. I wasn’t able to push this tutorial out before Thanksgiving, but I’m here now and delivering it today.
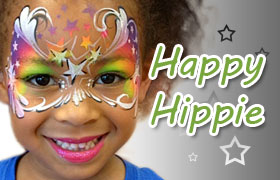
This is Heather’s latest face painting tutorial, aptly named ‘Happy Hippie’ for it’s free flowing nature. This is a quick 3-5 minute design that pops without spending too much time on detail.
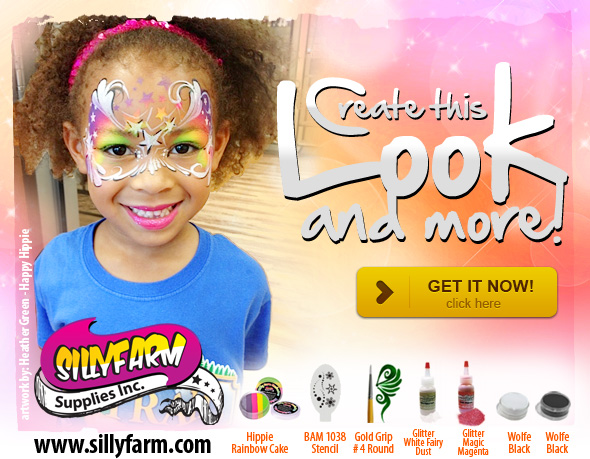
Heather started this design with the brand new, Silly Farm Exclusive Hippie Rainbow Cake. Using a sponge and the BAM 1038 stencil, she started the base on the forehead and then filled around the eyes with just the sponge.
Next, Heather used an Athena #10 Filbert brush and Wolfe White to hand paint a couple more stars and add some strokes above and below the eyes.
Heather then dabbed her sponge in Wolfe White and using the BAM 1038 stencil again, dabs some stars over the Rainbow Cake base on each side.
Next, Heather takes her Gold Grip #4 round brush loaded with Wolfe White and adds some more details around the design.
Depending if you have the time or not, Heather used a Gold Grip #2 brush loaded with Wolfe Black to outline parts of the design.
Finally, Heather added some ‘lipstick’ and some Magic Magenta & White Fairy Dust glitter for the finished design.
The tutorial is below, along with the products used. You can visit Silly Farm’s Create This Look section to see all the products used in each design.
